When it comes to woodworking projects, achieving a flawless finish is a key goal for many craftsmen. Sanding sealer plays a crucial role in this process, acting as a foundation for subsequent coatings. In this guide, we’ll explore the factors that influence the number of coats of sanding sealer needed and provide tips for obtaining that perfect finish.
Normallly two coats of sanding sealer are applied,we will discuss in detail about it in this article.
Understanding Sanding Sealer:
Before delving into the number of coats, it’s essential to understand what sanding sealer is and its purpose. Sanding sealer is a type of finish that’s applied before the final topcoat. Its primary functions include sealing the wood, filling pores, and creating a smooth, even surface for subsequent layers of finish.
1. Assessing Wood Porosity:
The porosity of the wood being used is a significant factor in determining the number of coats of sanding sealer required. Woods with open pores, such as oak or mahogany, may need additional coats to ensure effective pore filling. On the other hand, close-grained woods like maple may require fewer coats.
2. Initial Seal with One Coat:
In many cases, a single coat of sanding sealer can provide an adequate initial seal. This first coat helps prevent the subsequent layers of finish from being absorbed unevenly into the wood. Apply the sealer evenly, allowing it to penetrate and seal the surface. Sand lightly between coats for a smoother finish.
3. Pore Filling for Open-Grain Woods:
For open-grain woods that have visible pores, additional coats of sanding sealer may be necessary for effective pore filling. Apply a second or third coat as needed, allowing each coat to dry completely before sanding. The goal is to create a level surface by filling the wood’s pores with the sealer.
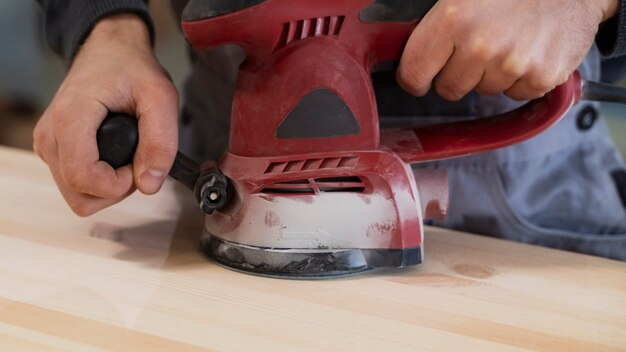
4. Sanding Between Coats:
Sanding between coats of sanding sealer is a crucial step to achieve a smooth and even finish. Use fine-grit sandpaper (such as 320 grit) to sand the surface lightly. This process helps remove any imperfections, smoothens the wood, and prepares it for the next coat. Always clean the surface thoroughly after sanding to remove any dust.
5. Adapting to Wood Conditions:
Wood conditions can vary, even within the same species. Factors such as humidity, temperature, and the specific characteristics of the wood can impact how the sealer is absorbed. Pay attention to how the wood reacts to each coat, and adjust the number of coats accordingly to achieve the desired result.
6. Checking for Adequate Coverage:
Before moving on to the final topcoat, check for adequate coverage and pore filling. Hold the wood up to a light source to inspect the surface for any visible pores or imperfections. If needed, apply an additional coat of sanding sealer to address any remaining issues.
7. Balancing Thickness:
While additional coats can improve pore filling, it’s essential to strike a balance. Applying too many coats without adequate sanding between layers can result in a thick, uneven finish. Aim for a balance that ensures a flawless surface while avoiding excess buildup.
8. Final Topcoat Application:
Once the desired level of pore filling and surface smoothness is achieved, proceed to the final topcoat. Whether using lacquer, polyurethane, or another finish, the sanding sealer provides an excellent foundation for the topcoat to adhere to, resulting in a professional-looking finish.
Conclusion: A Masterful Finish with Sanding Sealer
Achieving a flawless finish on your woodworking projects involves strategic application of sanding sealer. By assessing the wood’s porosity, adapting to its conditions, and carefully sanding between coats, you can create a smooth, even surface that enhances the natural beauty of the wood. Whether you need a single coat for initial sealing or multiple coats for effective pore filling, the key is to pay attention to the wood’s characteristics and adjust your approach accordingly. With the right techniques, you’ll master the art of using sanding sealer to achieve a professional and polished finish on your woodworking creations.