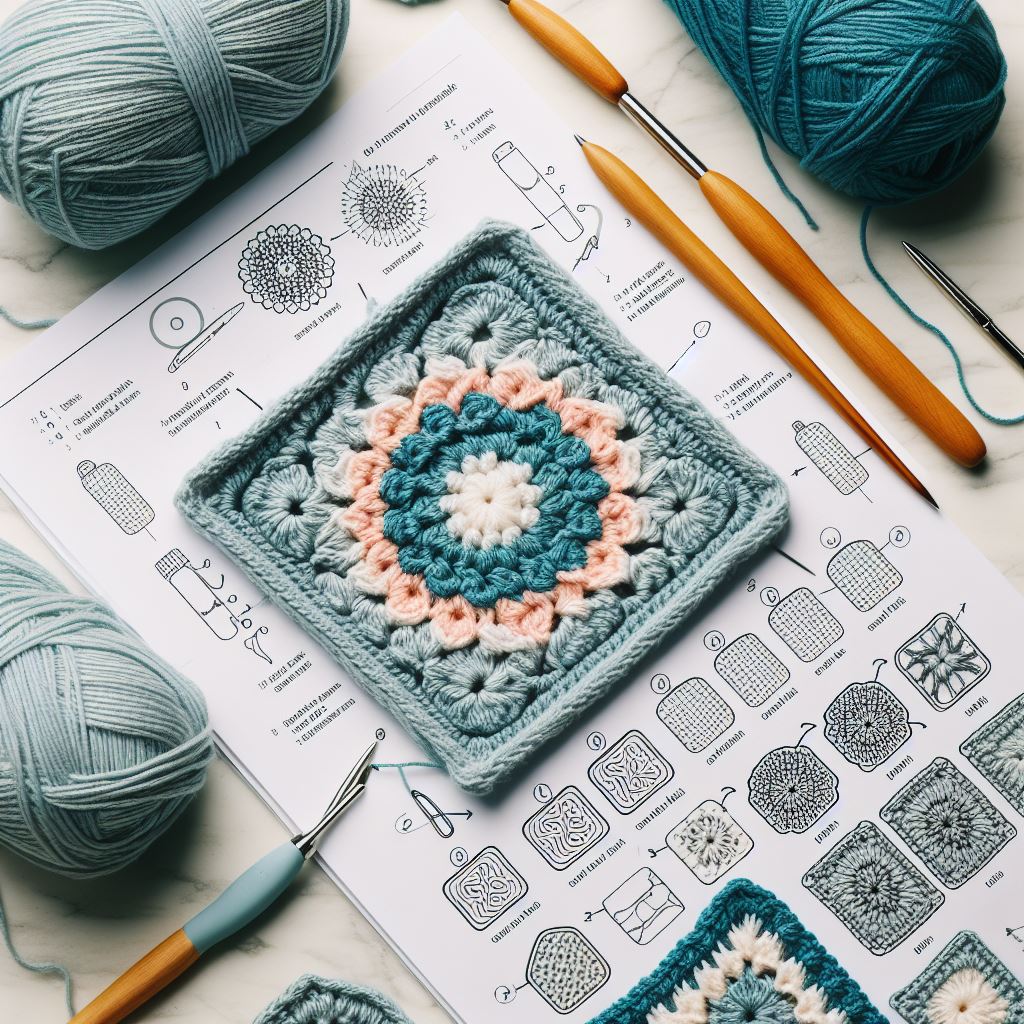
Crocheting your own dishcloth is a rewarding and practical project that allows you to customize your kitchen linens while honing your crochet skills. Whether you’re a seasoned crocheter or a complete beginner, creating a dishcloth is a fun and relatively quick project that yields a useful and durable item for your home. In this comprehensive guide, we’ll walk you through the step-by-step process of crocheting a dishcloth, from selecting the right materials to finishing off your project with flair.
Materials Needed
Before you begin crocheting your dishcloth, gather the following materials:
- Yarn: Choose a soft, absorbent yarn in a color of your choice. Cotton yarn is an excellent option for dishcloths due to its absorbency and durability.
- Crochet Hook: Select a crochet hook size appropriate for your chosen yarn. A size G/6 (4.0 mm) or H/8 (5.0 mm) hook is commonly used for dishcloth projects.
- Scissors: You’ll need a pair of scissors for cutting the yarn at the end of your project.
- Yarn Needle: A yarn needle, also known as a tapestry needle, will be used for weaving in ends and finishing your dishcloth.
Step-by-Step Instructions
Follow these simple steps to crochet your own dishcloth:
Step 1: Make a Slip Knot
Start by making a slip knot on your crochet hook. This will serve as the first stitch of your dishcloth.
Step 2: Chain Stitch
Create a foundation chain by chaining a multiple of stitches to achieve your desired width for the dishcloth. A common starting point is around 25-30 chains for a standard-sized dishcloth.
Step 3: Single Crochet Row
Begin the first row by single crocheting into the second chain from the hook. Continue single crocheting in each chain across the row.
Step 4: Turning Chain
At the end of the row, chain one and turn your work. This turning chain serves as the first stitch of the next row.
Step 5: Repeat Single Crochet Rows
Continue working single crochet rows, chaining one and turning at the end of each row, until your dishcloth reaches the desired length. Aim for a square or rectangular shape, depending on your preference.
Step 6: Fasten Off
Once your dishcloth has reached the desired size, fasten off by cutting the yarn, leaving a tail of several inches. Pull the tail through the last loop on your hook and weave in the ends using a yarn needle.
Step 7: Finishing Touches (Optional)
To add a decorative border or edging to your dishcloth, you can work additional rounds of single crochet, half double crochet, or any other stitch pattern of your choice around the edges. Experiment with different stitches and colors to personalize your dishcloth.
Care Instructions
To prolong the life of your crocheted dishcloth, follow these care instructions:
- Machine Washable: Most crocheted dishcloths made from cotton yarn are machine washable. Use a gentle cycle and mild detergent to clean them.
- Air Dry: Avoid using a dryer, as high heat can damage the fibers and cause shrinkage. Instead, air dry your dishcloth flat or hang it to dry.
- Replace as Needed: Over time, dishcloths may become worn or stained from regular use. Consider replacing them periodically to maintain cleanliness and hygiene in your kitchen.
Conclusion
Crocheting a dishcloth is a simple and enjoyable project that allows you to create practical and customizable kitchen linens. By following the step-by-step instructions outlined in this guide and experimenting with different yarns and stitches, you can crochet beautiful dishcloths to enhance your home décor and add a personal touch to your kitchen. With a little practice and creativity, you’ll soon be crocheting dishcloths with confidence and style.
Also read: How to Wash Pillows: Clean and Fresh Bedding