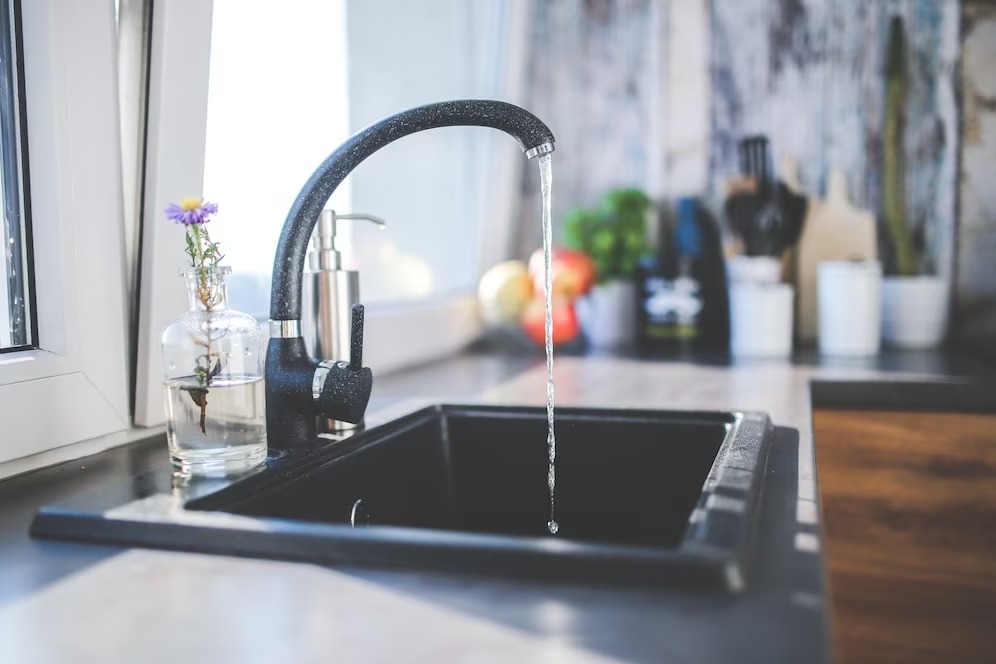
Introduction to Moen Kitchen Faucets and Reasons for Removal
Moen is a well-known and trusted brand in the world of kitchen faucets. They are known for their high-quality products that are both stylish and functional. Moen kitchen faucets come in a variety of styles and finishes, making them a popular choice for homeowners looking to upgrade their kitchen.
However, there may come a time when you need to remove your Moen kitchen faucet. There are several reasons why someone may need to do this. One common reason is if the faucet is leaking or not functioning properly. In this case, removing the faucet allows you to inspect and repair any damaged parts.
Another reason for removing a Moen kitchen faucet is if you are upgrading to a new model or simply want to change the look of your kitchen. Removing the old faucet is the first step in this process, allowing you to install the new one.
Tools Required for Removing a Moen Kitchen Faucet
Before you begin the process of removing your Moen kitchen faucet, it’s important to gather all the necessary tools. Here is a list of tools you will need:
1. Adjustable wrench – This tool is used to loosen and tighten nuts and bolts.
2. Screwdriver – You will need both a flathead and Phillips head screwdriver for different parts of the faucet.
3. Basin wrench – This specialized tool is used to reach and loosen nuts in tight spaces.
4. Plumber’s tape – This tape is used to create a watertight seal when reconnecting water supply lines.
5. Bucket or towel – To catch any water that may spill during the removal process.
Each tool serves a specific purpose in removing your Moen kitchen faucet. The adjustable wrench allows you to loosen and tighten nuts and bolts, while the screwdriver is used to remove screws holding various parts of the faucet together. The basin wrench is especially useful for reaching and loosening nuts in tight spaces, such as under the sink. Plumber’s tape is essential for creating a watertight seal when reconnecting water supply lines, and a bucket or towel is necessary to catch any water that may spill during the removal process.
Step-by-Step Guide to Removing a Moen Kitchen Faucet
Now that you have gathered all the necessary tools, it’s time to start removing your Moen kitchen faucet. Follow these step-by-step instructions for a smooth removal process:
1. Turn off the water supply – Before you begin, it’s important to turn off the water supply to your kitchen faucet. Locate the shut-off valves under the sink and turn them clockwise to shut off the water.
2. Disconnect water supply lines – Use an adjustable wrench to loosen and disconnect the water supply lines from the faucet. Place a bucket or towel underneath to catch any water that may spill.
3. Remove mounting hardware – Use a screwdriver or Allen wrench (depending on the type of screws used) to remove the mounting hardware that holds the faucet in place. This may include screws or nuts located on the underside of the sink.
4. Disconnect sprayer hose (if applicable) – If your Moen kitchen faucet has a sprayer attachment, you will need to disconnect the sprayer hose. Use an adjustable wrench to loosen and disconnect the hose from both the sprayer head and the faucet.
5. Lift and remove the faucet – Once all connections have been disconnected, carefully lift and remove the faucet from the sink.
Common Problems Faced During Moen Kitchen Faucet Removal
While removing a Moen kitchen faucet may seem straightforward, there are some common problems that can arise during the process. Here are a few common issues and tips on how to troubleshoot and solve them:
1. Stuck or corroded parts – Over time, parts of your Moen kitchen faucet may become stuck or corroded, making them difficult to remove. In this case, it’s important to use lubricants such as WD-40 to loosen the parts. Apply the lubricant and let it sit for a few minutes before attempting to remove the stuck or corroded part.
2. Stripped screws – If the screws holding the faucet in place are stripped, it can be challenging to remove them. One solution is to use a rubber band or a piece of cloth between the screwdriver and the screw head. This can provide extra grip and help loosen the stripped screw.
3. Tight spaces – The area under the sink can be cramped and hard to maneuver, especially when removing nuts and bolts. Using a basin wrench can help reach and loosen nuts in tight spaces. The long handle and adjustable head of the basin wrench make it easier to access hard-to-reach areas.
How to Deal with Stuck or Corroded Faucet Parts
Dealing with stuck or corroded faucet parts can be frustrating, but there are ways to remove them without causing damage. Here are some tips on how to deal with stuck or corroded parts:
1. Use lubricants – Apply a lubricant such as WD-40 to the stuck or corroded part. Let it sit for a few minutes to penetrate and loosen the corrosion before attempting to remove the part.
2. Tap gently – If a part is stuck, you can try tapping it gently with a hammer or mallet. This can help loosen any corrosion or debris that may be causing the part to stick.
3. Use specialized tools – In some cases, you may need to use specialized tools such as a strap wrench or pipe wrench to remove stuck or corroded parts. These tools provide extra leverage and grip, making it easier to loosen and remove stubborn parts.
Remember to take your time and be patient when dealing with stuck or corroded parts. Rushing or using excessive force can cause damage to the faucet or other components.
Removing a Moen Kitchen Faucet with a Sprayer Attachment
If your Moen kitchen faucet has a sprayer attachment, the removal process is slightly different. Here are specific instructions for removing a Moen kitchen faucet with a sprayer attachment:
1. Turn off the water supply – Before you begin, turn off the water supply to your kitchen faucet by locating and turning the shut-off valves under the sink.
2. Disconnect water supply lines – Use an adjustable wrench to loosen and disconnect the water supply lines from the faucet. Place a bucket or towel underneath to catch any water that may spill.
3. Disconnect sprayer hose – Use an adjustable wrench to loosen and disconnect the sprayer hose from both the sprayer head and the faucet. This may require some force, especially if the hose is stuck or corroded.
4. Remove mounting hardware – Use a screwdriver or Allen wrench (depending on the type of screws used) to remove the mounting hardware that holds the faucet in place. This may include screws or nuts located on the underside of the sink.
5. Lift and remove the faucet – Once all connections have been disconnected, carefully lift and remove the faucet from the sink.
Tips for Disconnecting Water Supply Lines
Disconnecting water supply lines can be tricky, especially if they are old or stuck. Here are some additional tips for safely and effectively disconnecting water supply lines:
1. Use a basin wrench – A basin wrench is a specialized tool that is designed to reach and loosen nuts in tight spaces. It has a long handle and an adjustable head, making it easier to access hard-to-reach areas under the sink.
2. Apply lubricant – If the water supply lines are stuck or corroded, applying a lubricant such as WD-40 can help loosen them. Apply the lubricant and let it sit for a few minutes before attempting to disconnect the supply lines.
3. Use a towel or bucket – Place a towel or bucket underneath the water supply lines to catch any water that may spill during the disconnection process. This will help prevent water damage to your kitchen cabinets or floor.
Remember to turn off the water supply before disconnecting the water supply lines. This will prevent any water from flowing when you remove the lines.
How to Remove a Moen Kitchen Faucet with a Mounting Plate
Some Moen kitchen faucets come with a mounting plate that needs to be removed before you can take out the faucet. Here are instructions for removing a Moen kitchen faucet with a mounting plate:
1. Turn off the water supply – Before you begin, turn off the water supply to your kitchen faucet by locating and turning the shut-off valves under the sink.
2. Disconnect water supply lines – Use an adjustable wrench to loosen and disconnect the water supply lines from the faucet. Place a bucket or towel underneath to catch any water that may spill.
3. Remove mounting screws – Use a screwdriver or Allen wrench (depending on the type of screws used) to remove the mounting screws that hold the mounting plate in place. These screws are typically located on the underside of the sink.
4. Lift and remove the mounting plate – Once all screws have been removed, carefully lift and remove the mounting plate from the sink.
5. Lift and remove the faucet – Once the mounting plate is removed, you can lift and remove the faucet from the sink.
Precautions to Take Before and During Moen Kitchen Faucet Removal
Before you begin removing your Moen kitchen faucet, it’s important to take some precautions to ensure your safety and prevent any damage. Here are some precautions to keep in mind:
1. Turn off the water supply – Before you start removing your Moen kitchen faucet, make sure to turn off the water supply. This will prevent any water from flowing when you disconnect the water supply lines.
2. Wear protective gear – It’s a good idea to wear protective gear such as gloves and safety glasses when removing your Moen kitchen faucet. This will protect your hands and eyes from any sharp edges or debris.
3. Use caution when working under the sink – The area under the sink can be cramped and hard to maneuver. Take your time and be careful not to bump your head or get tangled in any pipes or wires.
4. Follow manufacturer’s instructions – If you have the instruction manual for your Moen kitchen faucet, be sure to follow the manufacturer’s instructions for removal. This will ensure that you are removing the faucet correctly and without causing any damage.
Conclusion and Final Thoughts on Removing Your Moen Kitchen Faucet
Removing a Moen kitchen faucet may seem like a daunting task, but with the right tools and instructions, it can be done successfully. By following the step-by-step guide and taking necessary precautions, you can remove your Moen kitchen faucet safely and effectively.
Remember to gather all the necessary tools before you begin, including an adjustable wrench, screwdriver, basin wrench, plumber’s tape, and a bucket or towel. These tools will help you disconnect water supply lines, remove mounting hardware, and lift and remove the faucet from the sink.
If you encounter any common problems such as stuck or corroded parts, stripped screws, or tight spaces, there are solutions available. Using lubricants, tapping gently, and using specialized tools can help overcome these challenges.
By following these instructions and tips, you can successfully remove your Moen kitchen faucet and either repair or replace it as needed. Proper removal techniques are important to ensure that no damage is caused to your faucet or other components. So take your time, be patient, and enjoy the process of upgrading your kitchen with a new Moen kitchen faucet.