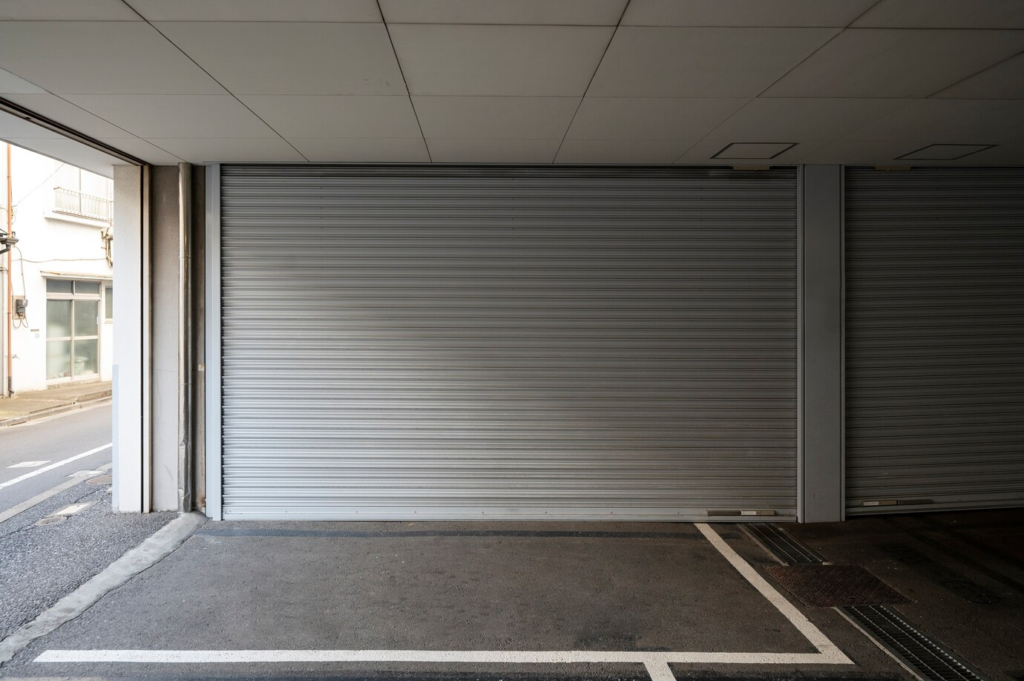
Sealing the bottom of your garage door is a practical and effective way to enhance insulation, protect against the elements, and keep your garage more energy-efficient. In this comprehensive guide, we’ll take you through the steps to seal your garage door bottom, ensuring a snug fit that keeps out drafts, dust, and pests.
1. Assess the Current Seal:
Start by inspecting the existing seal on your garage door bottom. Look for signs of wear, damage, or gaps that may be allowing drafts or unwanted elements to enter the garage.
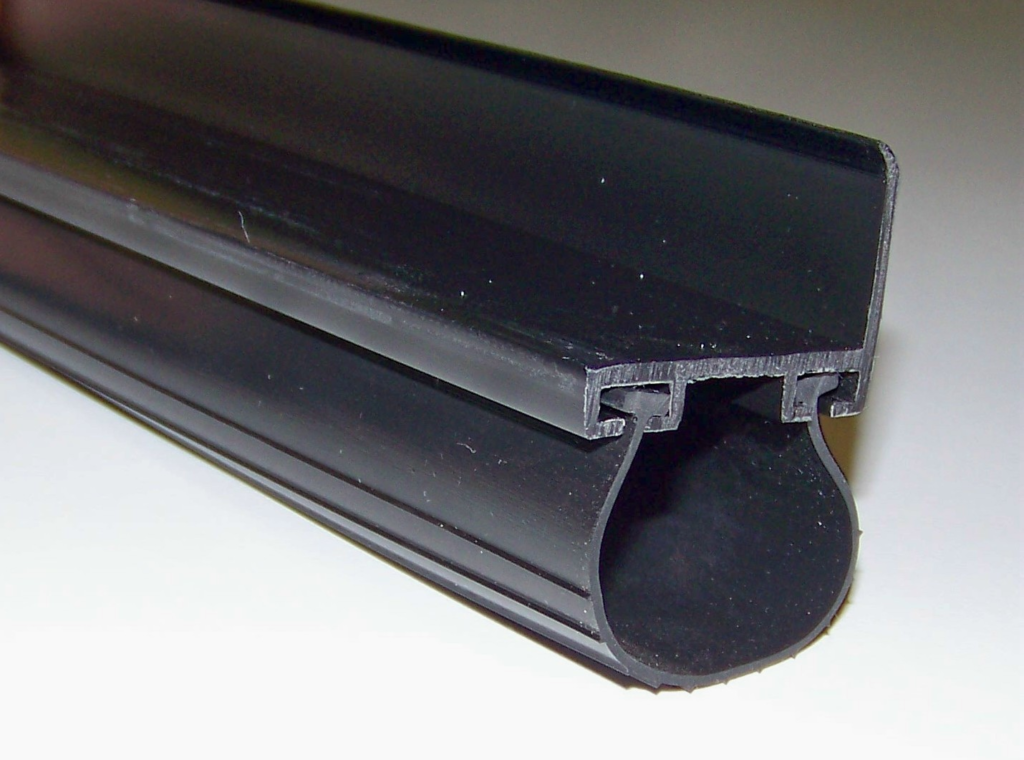
2. Choose the Right Seal:
Select a suitable garage door bottom seal based on your door type and the climate in your area. There are various types of seals, including rubber, vinyl, and brush seals. Choose one that provides a good balance of flexibility and durability.
3. Gather Necessary Tools and Materials:
Before you begin, gather the tools and materials you’ll need for the job:
- New garage door bottom seal
- Screwdriver or power drill
- Pliers
- Utility knife
- Measuring tape
4. Measure and Cut the Seal:
Measure the width of your garage door and cut the new seal to match the dimensions. Use a straightedge and a utility knife for precise cutting. Ensure that the cut seal matches the width of the door accurately.
5. Remove the Old Seal:
If there’s an existing bottom seal, carefully remove it using pliers or a screwdriver. Take note of how the old seal was attached, as this will guide you in securing the new one.
6. Clean the Bottom Edge of the Door:
Before installing the new seal, clean the bottom edge of the garage door thoroughly. Remove any dirt, debris, or adhesive residue left behind by the old seal. A clean surface ensures a secure and effective seal.
7. Attach the New Seal:
Position the new seal along the bottom edge of the door, ensuring it aligns evenly. Depending on the type of seal, you may need to insert it into a track or attach it directly to the door. Follow the manufacturer’s instructions for proper installation.
8. Secure the Seal in Place:
Use a screwdriver or power drill to secure the new seal in place. If the seal has pre-drilled holes, align them with the existing holes on the garage door and screw them tightly. For seals without pre-drilled holes, follow the manufacturer’s recommendations for attachment.
9. Check for Gaps and Adjustments:
After attaching the new seal, close the garage door and inspect the bottom for any gaps or unevenness. Make any necessary adjustments to ensure a tight and uniform seal. The seal should compress slightly when the door is closed.
10. Test the Seal:
Open and close the garage door several times to test the effectiveness of the new seal. Listen for any unusual sounds, and check for any visible gaps or drafts. A properly installed seal should create a barrier against outdoor elements.
11. Consider Threshold Seals for Extra Protection:
For added protection against water infiltration, consider installing a threshold seal at the base of the garage door. Threshold seals create a barrier that prevents water, leaves, and debris from entering the garage.
12. Regular Maintenance:
To ensure the longevity of your garage door bottom seal, incorporate regular maintenance into your routine. Inspect the seal periodically for wear or damage, and replace it as needed.
Conclusion: Enhancing Efficiency and Protection with a Well-Sealed Garage Door Bottom
Sealing the bottom of your garage door is a practical DIY project that offers numerous benefits, including improved insulation, protection against the elements, and energy efficiency. By following these step-by-step instructions, you can achieve a secure and effective seal that enhances the overall performance of your garage door. Regular maintenance and prompt replacement of worn seals contribute to a well-insulated and protected garage space.
Also read: Exploring the Longevity: How Long Does a Car Wrap Last?